WHY YOU NEED A LOOPER PEDAL AND 5 EASY STEPS TO GET STARTED.
Guitar Lessons
Ditch the jam track, start looping!
Being able to create your own jams is one of the most important skills you can learn as a guitar player. Creating a loop to jam over is one of my absolute favourite things to do when I pick up a guitar, and it is a great way to actually practice creativity; Yes believe it or not, creativity can be practiced and improved, and isn't just a "natural talent" that you have or don't have.
Of course, you absolutely can go ahead and fire up YouTube, type in "soul jam track in G minor" and be presented with thousands of ready to go jam tracks. That's great, and there is definitely a time and a place for that, but in terms of your learning and development as a musician, doing it yourself will push your skills further than you ever thought possible!
So before we get into the 5 steps, let's just quickly cover the "why" we're working with loops and "how" it massively improves your skill and musicianship. The main reason is that you are in complete control, and you understand the process of building a track from ground up. This means you know and understand the theory of developing a chord progression; It means you can play the jam in time and stay in a certain tempo for the entire loop; It means you know the exact chords you are playing and can highlight them within your solo; It means you can embellish your basic chords using the CAGED system; It means, well, that you actually understand what you are doing!

So, we can see how this is better than simply jamming over a pre-written track. When you jam over a track that simply tells you the key, you are restricting your jam practice to just using a few scale shapes within that key. Now, I'm not for one second saying that's a bad thing… it's great! I love doing that! However, what I am saying is that in terms of your all round development as a guitar player, looping by yourself will reward you far more lavishly in the long run.
Hopefully, I have done my job in convincing you that this is the way forward for your practice. I believe it, I've been doing it for years, and I hope that you will join me too. So, with that all said, let's now dive into how to actually get started with creating your jam loops, and work through the 5 simple steps.

Step #1 - You need a looper pedal.
I wanted to start with this, rather obvious, but crucial step! The whole point of this system is that we can do it quickly, and on the fly when you are practicing. There are a lot of looper pedals out there, and I'm not here to necessarily tell you the best and worst looping pedals, but I will show you what I use, and how I use it in the chain on my pedal board. First up, here are two key features your looper needs to have.

So, as long as we have at least these two features, we are good and ready to go! Don't get too deeply sucked into the higher end options with loopers at this point. Keep it simple, our focus here is to improve our guitar skills and we're just starting out with looping, so no need to spend big! As for where to put the loop on the board, this is the signal chain I would recommend.
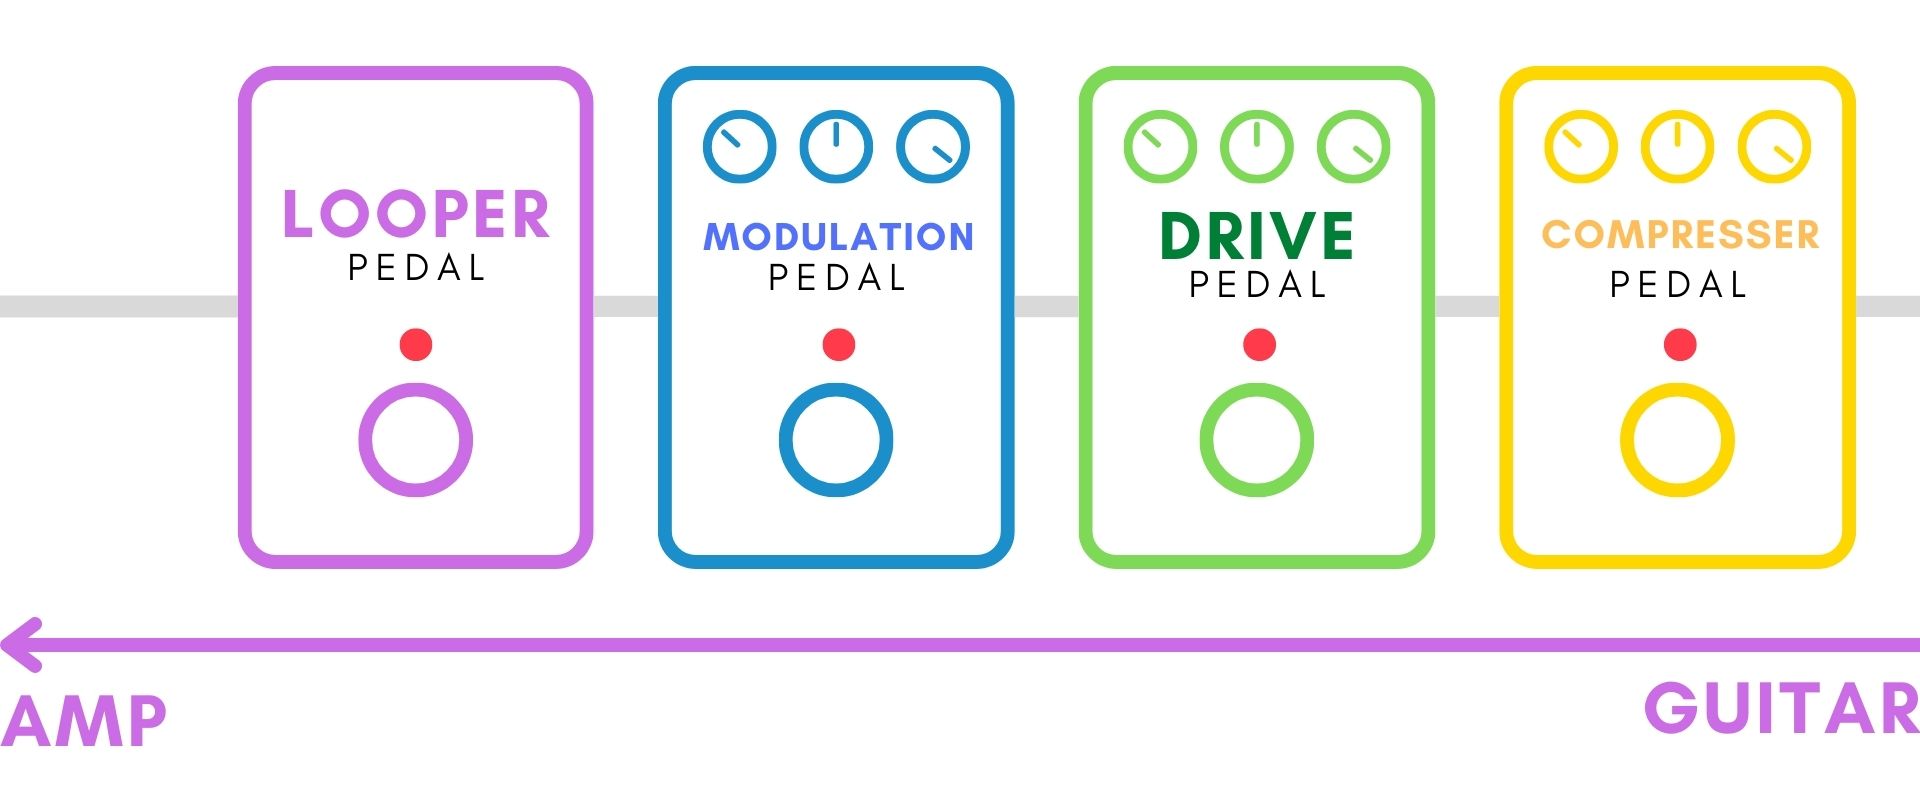
So the looper would come right at the end of the signal chain, just before you head off to the amp. The reason for this is that you want to record the Modulation, Drive, Compression, Wah, or any other sound that you are using for the loop, into the looper. The loop records the sound you are hearing, then when you come to do a second loop, that sound is recorded and you can use another sound on top of that by switching in and out different pedals.
So, with the looper purchased, and set up at the end of your pedal board, we are ready to move to step #2, and it's about to get a little more rhythmical!
Step #2 - Practice your timing
Before we can even consider getting super creative, we really need to start practicing staying in time with our looper pedal. This is a definite skill that can take some time to develop, so go easy on yourself as you start this process. We're gonna keep things simple with this step, and work with an A minor or Am7 barre chord to get our groove flowing.
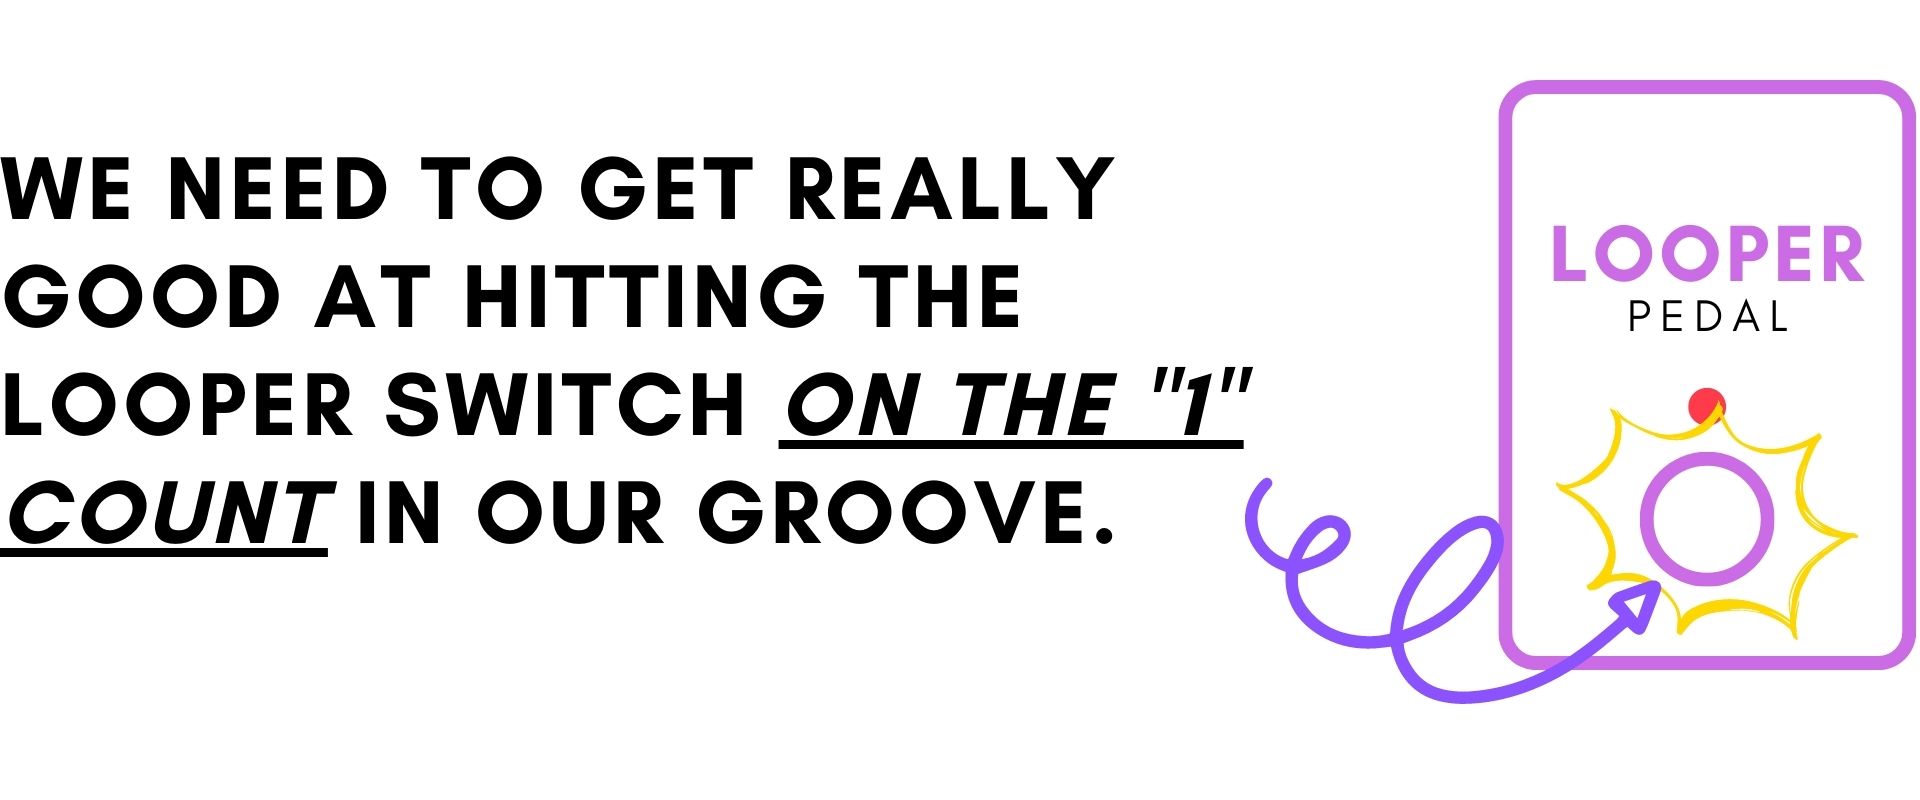
So take the Am or Am7 chord (or any other chord you want to use) and try playing a very simple 4/4 groove. As you play the groove make sure your foot is tapping and you are counting "1,2,3,4" or "1 & 2 & 3 & 4". You won't always need to count, but for now it will really help with the exercise. As you say "1" you need to stamp on the looper pedal switch. It needs to be absolutely bang on the first beat, and this is something that will take practice, so take your time with it. Don't overcomplicate the rhythm as your focus is practicing this counting and foot tapping. With that done, we can move onto step 3!
Step #3 - use the theory to create progressions
Next up we want to start putting some actual chords together, and this is where it gets really fun. Now, quick disclaimer, I'm going to be doing a relatively beginner-ish version of this. Of course, as you get more advanced, you can bring in some seriously cool, quirky and very exciting chord progressions. For the purpose of this lesson, we will be working with the major scale and the core harmonisation of that. Let's do our loop in the key of D major, shall we…

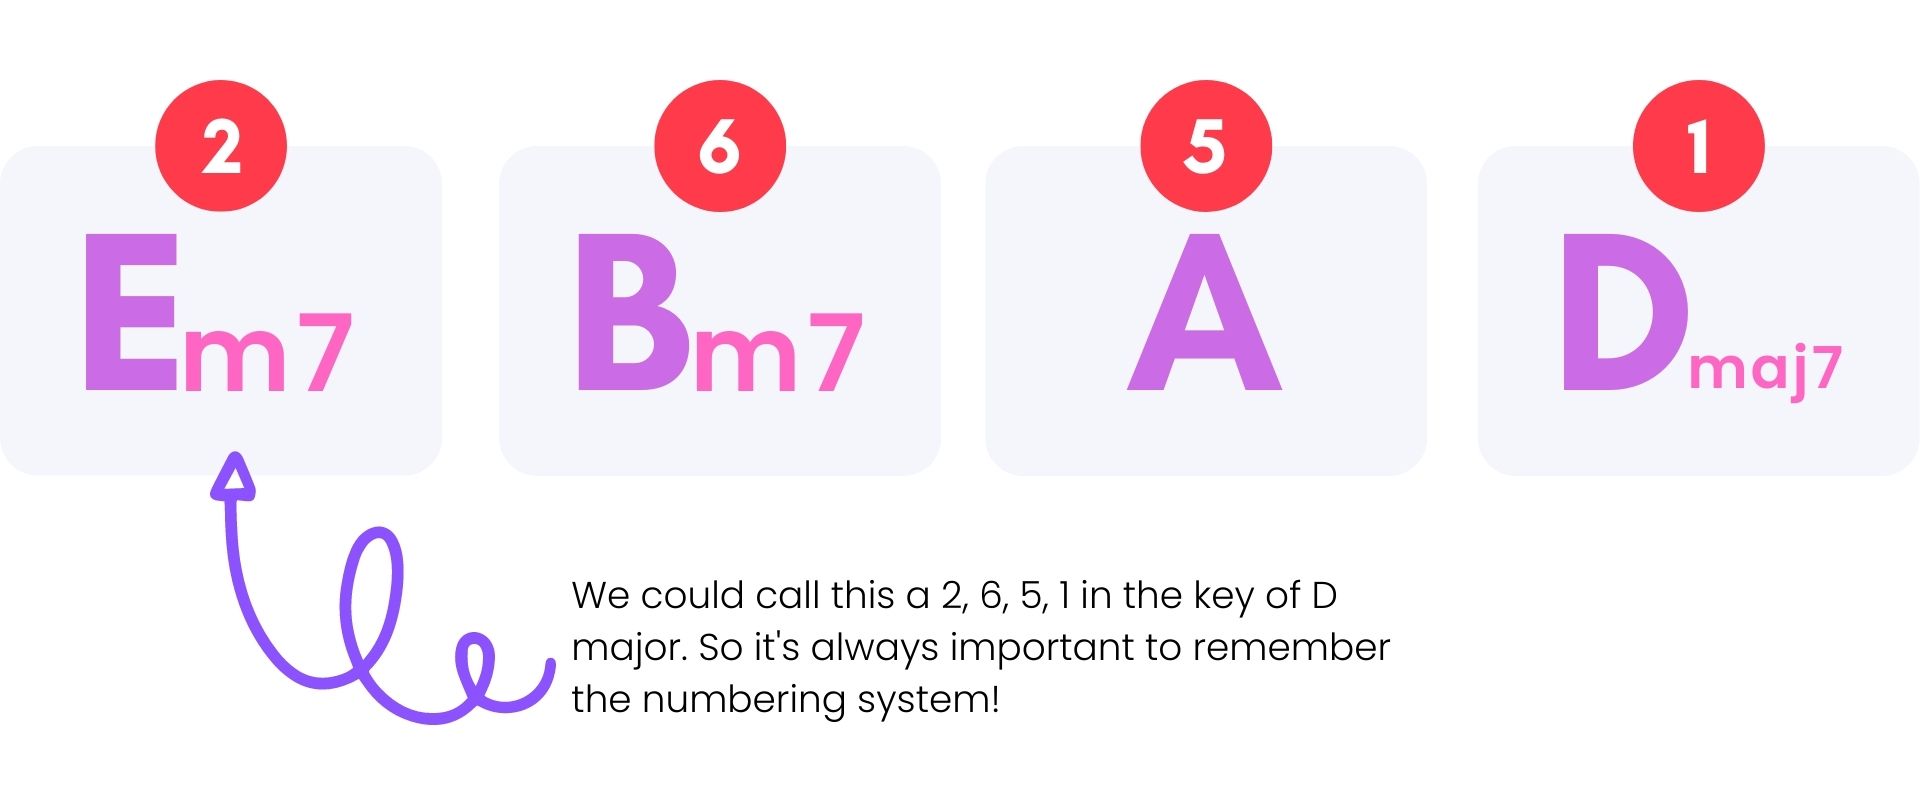
The basic theory that we need is to be able to harmonise the major scale and create a selection of 7 chords that we can use as the base of our creativity! Firstly, if you want to learn this theory in a lot more detail, check out our Theory Lab course here. For now, with the major scale drawn out, we need to harmonise each chord, and the formula for that is major, minor, minor, major, major, minor, diminished. We therefore get the following chords.

We can now start getting creative and putting different chords together, from this core set, in any order you like. This is where trial and error will play a huge part, and remember that there is no "wrong combination"! If you like the sound, then it's good. I will tell you now, that most pop songs you hear on the radio, whether modern or older, are written using chords from the harmonised major scale. It's a magical thing and there is plenty to explore.
In the video I work through a range of ideas, before settling on a few chords that I like the sound of. However, don't just copy mine! Explore this for yourself and come up with something you like the sound of. As long as it's picked from this set of chords, you are creating a jam track to play over that will work.
Step #4 - Layering up inversions
For our penultimate step, we can start to really test your guitar knowledge, whilst building some very cool sound layers. There are two things we could use for this, first is a knowledge of the CAGED chord system (find a full course on that here) and the second is a few modulation effects (like a reverb, delay or chorus pedal for example). So let's take a base progression example like this:
From here, let's start using CAGED shapes with a more atmospheric sound to create a cool second layer. For example, we might pump up the reverb and select some higher inversions of the E minor chord. It doesn't have to be Em7, as the Em7 is based around the E minor, so we can just use that! This is again an opportunity to get creative with your chord positions. You might even choose to arpeggiate the chord, play it on a different beat other than the "1"… Or anything else you can imagine to do!

By the time you have your second layer like this, we have a perfectly beautiful jam track to jam along to. There is, however, one more super cool step we can take (very optional) to make the jam track even cooler.
Step #5 - Embellishments
So our final step, before you can start jamming away to your heart's content, is to add a few embellishments. The main thing to remember here is that we want to leave plenty of space for our lead track, so these don't need to be anything too fancy. However, it is a good opportunity to continue developing our CAGED and Hendrix-esque approach. What I mean is that this is a perfect opportunity to try and add in a few chordal licks, based around your pentatonic scales, that complement the rhythm of the track (rather than feel like a recorded lead part). As well as that, you could try adding a few "mini grooves", utilising the pentatonic shapes in a very funky way! Think Nile Rodgers, or Steve Lukather on Michael Jackson's Thriller… Little micro grooves based around two or three notes from the pentatonic scale!
Again, this is all trial and error. What works for you and what doesn't? This question can only be answered if you try in the first place, and this final step is the icing on the cake in our looping quest!
So, with all that said and done, it's time for you to give it a go! Work through the steps and see what you come up with. Also, don't forget to join our YGA Club so that you can join our community and share your looping experience with other students and our wonderful mentors. I personally would love to see how you work through these ideas! All the best, Dan.