Now we have established the basic idea of neck relief, James and Chris are going to walk through exactly how you adjust the neck relief on a fender style guitar. Adjusting the truss rod is something people are often worried to do, but it is really very simple when you know how!
Summary: Equipment
To adjust your neck relief, you will need some equipment. These tools are all easy to get hold of and easy to use, so adjusting your own neck relief is still well within the boundaries of something you can do yourself. Here is the gear...
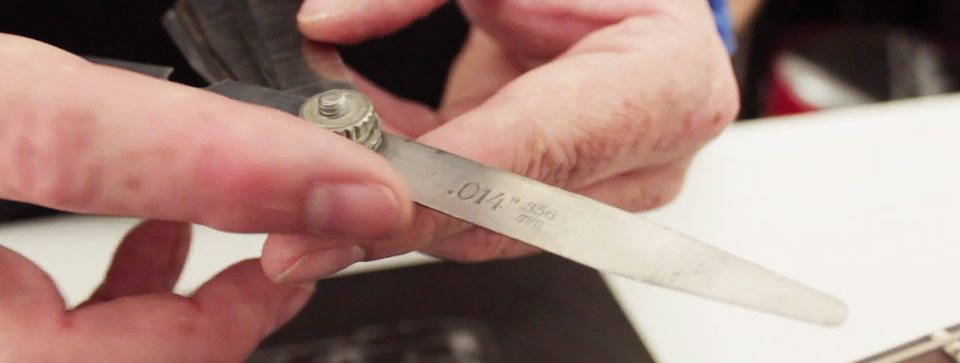
1. Feeler Gauge

The feeler gauge is what you use to measure the distance between the fret and the string, and therefore determine the neck relief. For example, if a 0.014" feeler gauge fits snuggly between the 7th fret and the string (specifically on the 7th fret) then your neck has 0.014" of relief.
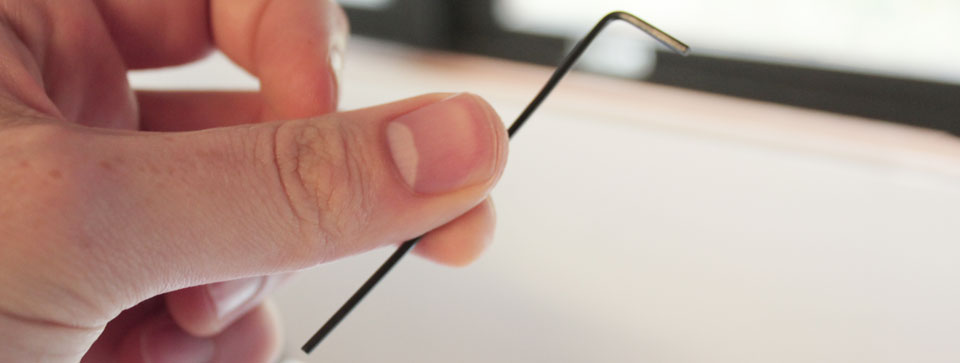
2. Allen Key

You will need a set of allen keys for adjusting the truss rod. Some guitars supply you with the correct fitting allen key, but if you don't have that, a standard set of allen keys should give you the size you need.
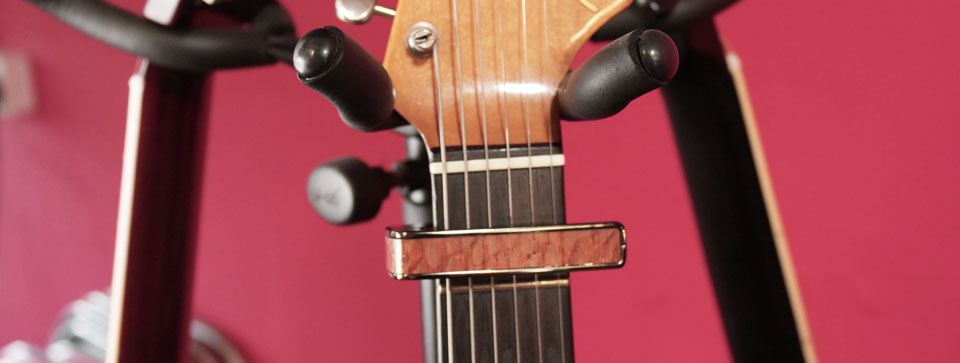
3. Capo

As James walks you through in the video, you will need a good capo to hold down the strings at the 1st fret, thus allowing you to accurately measure the relief.
Checklist: Adjusting neck relief
Now it's time to give it a try! There are a few steps to follow to get this correct, so we have written a handy checklist for you below:
- 1. Tune the guitar up to pitch
- 2. Capo the 1st fret and fret the last fret (thus giving you a straight edge)
- 3. Take your feeler gauge and measure at the 7th fret until you find a gauge that fits perfectly
- 4. A recommended relief for US strats is 0.008" to 0.012", so any higher or lower than that you will need to adjust (If you are unsure what recommended amount of relief your guitar is, check the manufacturers specs.)
- 5. Take the allen key and adjust the truss rod. Right for tighter (if you need to move from 0.014 to 0.012 for example) and left for looser (if you need to go from 0.006 to 0.008 for example)
- 6. Remember to adjust in increments of two hours on a clock face (for example, 10 to 12)
- 7. Retune your guitar back to pitch and repeat the process until you have the correct relief.